Draught Proofing Your Home: Simple Ways to Keep the Warmth In
Draught proofing is one of the cheapest, quickest and most satisfying jobs you can do around the house before winter arrives. Most of us only notice…
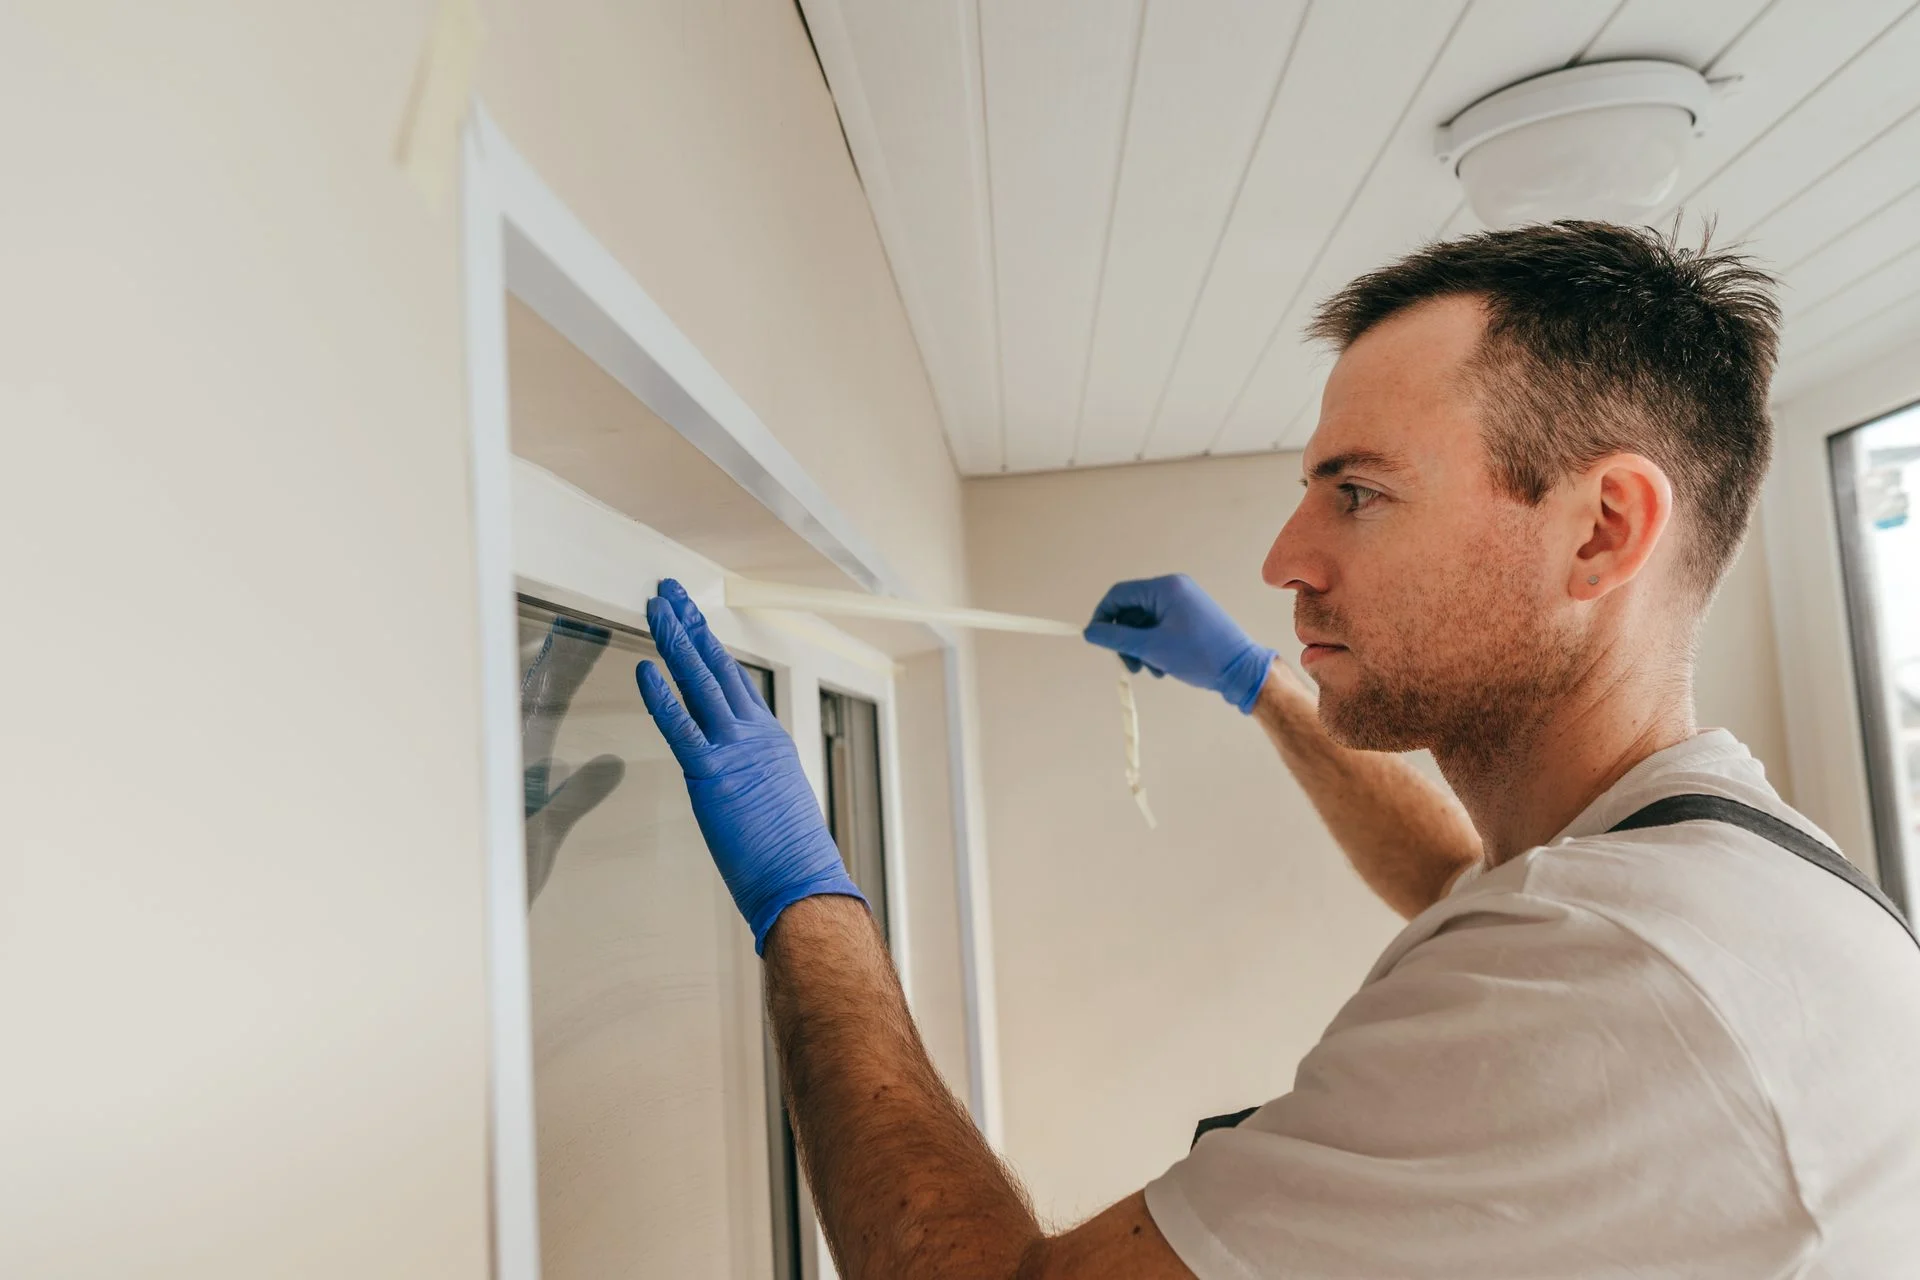
Draught proofing is one of the cheapest, quickest and most satisfying jobs you can do around the house before winter arrives. Most of us only notice a draught when a cold breeze curls around our ankles on the sofa or the curtains start to move on a still day, and by then the heat we are paying for is already slipping out through gaps we cannot see. The good news is that you do not need to be a builder to fix them. With a few basic materials, an hour or two and a calm weekend, you can make your home feel noticeably warmer, and you may even trim your heating bill while you are at it.
This guide walks you through where draughts come from, how to find them, and which fixes are worth doing first. We also cover the one thing you should never block, so you can keep your home warm and safe at the same time.
Why Draughts Make Your Home Feel Colder
A draught is simply cold air getting in, or warm air getting out, where it should not. Homes are always losing a little heat, but gaps around doors, windows, floors and pipework let it escape much faster than it needs to. That is why a room can feel chilly even when the radiator is on full.
There is a comfort side to this as well as a cost side. Moving air makes you feel colder than still air at the same temperature, so even a small gap can make a room feel several degrees cooler than the thermostat says. Many people respond by turning the heating up, which simply pushes more warm air out through the same gaps.
Sealing those gaps lets your heating work less hard. The room warms faster, stays warm for longer, and the temperature feels more even from one corner to the next.

Where to Look for Draughts in Your Home
Before buying anything, spend ten minutes finding the problem areas. The most common culprits are:
- Front and back doors, especially around the letterbox, keyhole and the gap beneath the door.
- Windows, particularly older sash windows and any that no longer close tightly.
- Floorboards and the gaps where skirting boards meet the floor.
- Loft hatches, which are often left unsealed even though warm air rises straight towards them.
- Chimneys and open fireplaces that are no longer in use.
- Gaps around pipes, cables and extractor fans where they pass through an outside wall.
- Old cat flaps and air bricks that are broken or missing covers.
A simple test is to wait for a cold, breezy day and move slowly around the house with a lit candle or a stick of incense, holding it near each suspect spot. If the flame flickers or the smoke streams sideways, you have found a draught. A damp hand held near a gap will also feel the cool air. Keep the flame well away from curtains and anything flammable.
Starting With the Front Door
Doors are usually the biggest offenders, so draught proofing them first gives the best return for the least effort. There are three common problem areas, and each has a cheap, simple fix.
The gap under the door
A brush strip or a draught excluder fitted to the bottom of the door closes this gap very effectively. Self-adhesive versions are easy to fit and can be trimmed to size with scissors. If you would rather not fix anything permanently, a heavy fabric excluder placed along the bottom does a decent job too.
The edges of the door
Self-adhesive foam or rubber strips stuck into the door frame fill the thin gap between the door and the frame when it is closed. Choose a thickness that lets the door shut firmly without forcing it, and make sure the surface is clean and dry before sticking anything down.
Letterbox and keyhole
A brush or flap fitted behind the letterbox stops cold air whistling through the slot, and a small cover over the keyhole takes only a moment to fit. These tiny gaps are easy to overlook, but together they let in a surprising amount of cold air.
Dealing With Windows
Windows can lose heat through the glass itself, but draughts usually come from the edges of the frame and the gaps where the opening part closes against it. Draught proofing windows is mostly about the edges, and the right fix depends on the type of window.
For standard casement windows, adhesive foam, rubber or silicone seals around the frame are quick to fit. For older sash windows, brush strips along the sliding edges work well, and a little patience pays off because they keep the windows moving smoothly.
If your windows are single glazed, thick curtains with a thermal lining make a real difference on cold evenings. Close them at dusk to trap the heat inside, and open them in the morning to let the sunlight warm the room. Window insulation film is another cheap option, though it does not look as pretty.
Check the mastic or sealant around the outside of the frames as well. If it has cracked or shrunk, a fresh bead of sealant is a simple way to stop wind and water getting in.
Floors, Skirting Boards and Chimneys
Gaps between floorboards can let cold air rise from the space underneath, particularly in older homes with suspended timber floors. Special sealing strips, flexible fillers or a bead of sealant along the skirting board all help. A thick rug over bare boards adds comfort as well as a little insulation, which is the sort of cosy touch we love in our guide to the burrowcore home style.
An unused chimney is effectively a hole in your roof. A chimney balloon or a purpose-made cap blocks the flow of cold air without sealing the chimney completely, and you can remove it easily when you want to light a fire. Never close off a flue that serves a working fire or boiler.
The Loft Hatch and Other Hidden Gaps
Warm air rises, so a loft hatch that does not seal properly is a surprisingly big escape route. Foam strips around the hatch frame and a layer of insulation on the back of the hatch itself are an easy upgrade for an afternoon.
Next, look for gaps around pipes under the sink, behind the washing machine and around any cables that pass through outside walls. Flexible filler or expanding foam will close most of them. Do not forget extractor fans and old cat flaps, which can often be fitted with a cover or seal when they are not in use.
The One Thing You Should Not Block
Draught proofing is about sealing unwanted gaps, not removing the ventilation your home needs. Fuel-burning appliances such as gas boilers, wood burners and open fires need a steady supply of fresh air to burn safely, and deliberate vents, trickle vents in windows and air bricks are there for a reason. If you block them, you risk poor air quality, condensation and, in the worst case, carbon monoxide building up.
Leave kitchen and bathroom extractor fans and any permanent vents alone. If you are unsure whether a gap is deliberate, check with a qualified tradesperson before sealing it. It is also a good moment to test your alarms, and our guide to carbon monoxide alarms explains the signs that yours need attention.
Draught Proofing on a Budget: What Is Worth Buying
You can make a big difference without spending much. A basic kit of brush strips, foam seals, a letterbox brush and a tube of sealant costs far less than a single tank of heating oil. As a rough guide, the items below give the best return for the least effort:
- Door brush strips and letterbox covers, which are cheap and take minutes to fit.
- Foam or rubber seals for window and door frames.
- Thermal curtains for windows that face the wind.
- A chimney balloon for any unused chimney.
- Sealant or filler for skirting boards and pipe gaps.
- Loft hatch seals, which cost little and stop warm air escaping upwards.
Avoid the very cheapest foam, which can crumble after one winter. A slightly better seal usually lasts several years and saves you doing the job twice.
A Simple Weekend Plan
If the list feels long, here is an easy order of work that you can finish in a weekend without any stress.
- Saturday morning: walk round with a candle or damp hand and make a list of every draught you find.
- Saturday afternoon: fit door seals, a letterbox brush and a bottom strip on the front and back doors.
- Sunday morning: seal the windows and any gaps around pipes and skirting boards.
- Sunday afternoon: fit a loft hatch seal, add a chimney balloon if you need one, and hang the thermal curtains.
Finish with a cup of something warm and enjoy the difference. If you want to make the evening feel even snugger, try some of the ideas in our guide to cosy lighting for dark evenings, or bring a little greenery indoors with our tips on keeping houseplants healthy in winter.
Does It Really Save Money?
Energy advice bodies generally agree that sealing gaps is among the most cost-effective home improvements, because the materials are inexpensive and you can do most of the work yourself. It will not replace insulation or a modern boiler, but it works well alongside them.
Savings depend on your home, how leaky it is now and how you heat it. Many households notice they can lower the thermostat slightly because the rooms feel warmer, and that is where the saving tends to come from. Even a small drop in temperature can reduce heating use over the winter.
Think of it as an investment in comfort first and money second. Rooms that hold their heat are more pleasant to live in, and you do not need to wait for the bills to arrive to feel the benefit.
Small Habits That Keep the Heat In
Sealing gaps works best when it is paired with everyday habits. Close internal doors to rooms you are not using, keep radiators clear of furniture so heat can circulate, and pull curtains at dusk. Take care not to push thick curtains over a radiator, as that sends the heat straight out of the window. Small routines like these cost nothing and add up over a winter.
When to Call in a Professional
Most jobs in this guide are well within reach of a confident beginner, but a few are better left to an expert. Persistent damp, large cracks, rotten frames, and anything that involves a flue or a fuel-burning appliance need professional advice. A tradesperson can also check whether upgrading old windows or adding wall or loft insulation would give a bigger return than sealing gaps alone.
Common Questions About Draught Proofing
Will sealing my home cause damp?
Not if you keep your deliberate ventilation. Condensation often appears when moist air has nowhere to go, so use extractor fans when cooking and bathing, open windows briefly each day and leave trickle vents open.
How long do seals last?
Good quality foam and brush strips usually last several winters. Check them each autumn and replace any that have flattened or peeled away.
Can I do it in a rented home?
Yes, many options are removable or adhesive and leave no mark. It is still sensible to ask your landlord before making permanent changes.
Which job should I do first?
Start with the doors, then the windows, and then work through the smaller gaps. The big openings give you the biggest benefit for the least work.
Keep the Warmth In This Winter
A few small fixes can turn a draughty house into a snug one. Take your time, enjoy the little wins, and keep the ventilation you need. For more simple ideas for the colder months, head to our home page, or get in touch if there is a topic you would love us to cover.

Lifestyle, travel, fashion and home ideas for your coffee break.